There are three separate ways to lock an app on iPhone, and they solve different problems. On iOS 18 and later, you can require Face ID to open a specific app for privacy. Screen Time App Limits let you cap how long you can use an app or category each day, with an optional hard block once the time runs out. And scheduled blocking, either built manually with Screen Time or automated by a planning app like Chrobox, blocks a chosen set of apps only during specific hours you set in advance. Most people who actually want to reduce phone use end up combining a Screen Time passcode with a schedule, because a limit you can turn off yourself is not really a limit.
Method 1: Lock an App with Face ID (iOS 18 and later)
On iOS 18 and later, Apple added a built-in way to lock individual apps behind Face ID, Touch ID, or your passcode, directly from the Home Screen.
To use it:
- Long-press the app icon until the quick actions menu appears.
- Tap Require Face ID (the wording may show Touch ID or passcode instead, depending on your device).
- If you also want the app hidden from your Home Screen, App Library, notifications, and search, choose the Hide and Require Face ID option instead. A hidden app moves into a separate, locked folder.
Once this is turned on, opening the app requires Face ID authentication every time, even for someone who already has your phone unlocked.
It is important to be clear about what this does and does not do. This feature is about privacy, not about reducing how much you use an app. It stops someone else from casually opening your banking app or messages if they pick up your unlocked phone. It does nothing to stop you from opening the app yourself: you just authenticate with your own face and go straight in. If your goal is to check social media less, Face ID lock will not help, because you are the one unlocking it.
Method 2: Limit or Block an App with Screen Time App Limits
Screen Time App Limits are Apple's tool for capping usage, and they are the right choice when the goal is "less of this app per day" rather than "keep this app private."
To set one up:
- Open Settings, then go to Screen Time.
- Tap App Limits, then Add Limit.
- Choose specific apps or a whole category (like Social or Games).
- Set a daily time allowance.
- Turn on Block at End of Limit if you want the app to actually stop opening once time runs out, rather than just showing a reminder.
You can also set Downtime from the same Screen Time menu, which schedules a window (for example, overnight) when only apps you allow stay accessible, instead of limiting a specific app by minutes.
The catch with both App Limits and Downtime is enforcement. If you set the limit yourself, a screen appears when time runs out offering Ignore Limit for Today, and one tap undoes the whole thing. This is fine as a gentle nudge, but it will not hold up against a real urge to keep scrolling. To make a Screen Time limit actually stick, go to Settings, Screen Time, and turn on Use Screen Time Passcode with a code that is different from your normal phone passcode, ideally one that someone else knows and you do not, such as a partner or accountability friend. Without that separation, the "limit" is really just a reminder you can dismiss.
Method 3: Schedule App Blocking Around a Plan
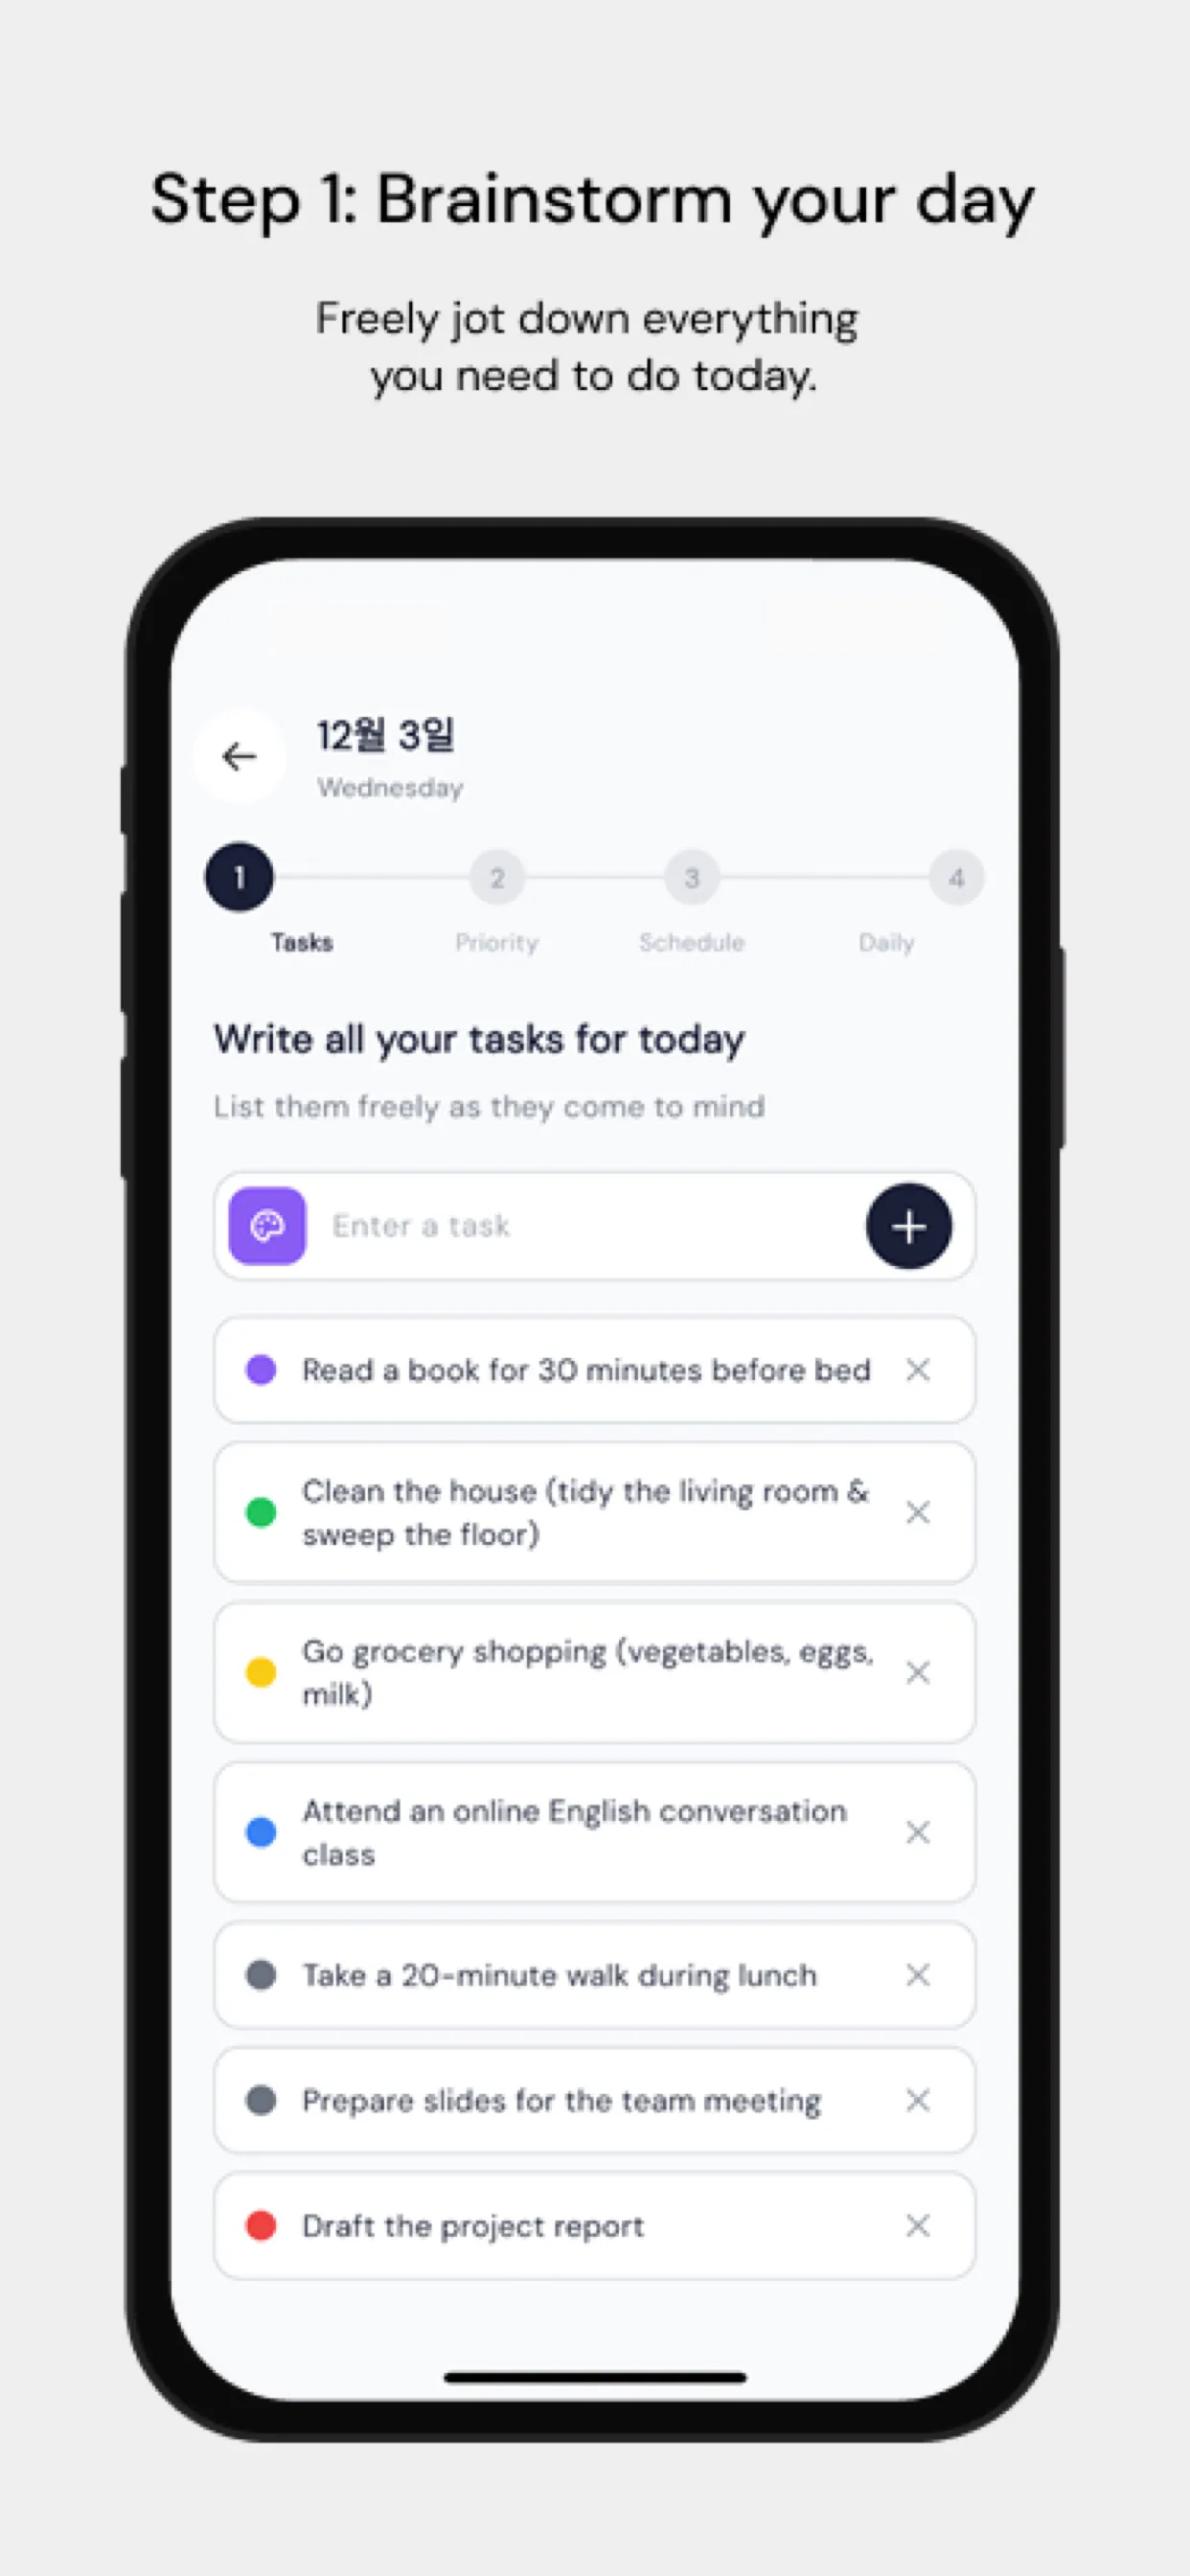
The third approach flips the logic: instead of a daily minute budget, you block a chosen set of apps only during specific hours, tied to what you are supposed to be doing at that time. You can build this manually with Screen Time Downtime scheduled for your work hours, or use a planning app that ties blocking to your actual calendar of tasks.
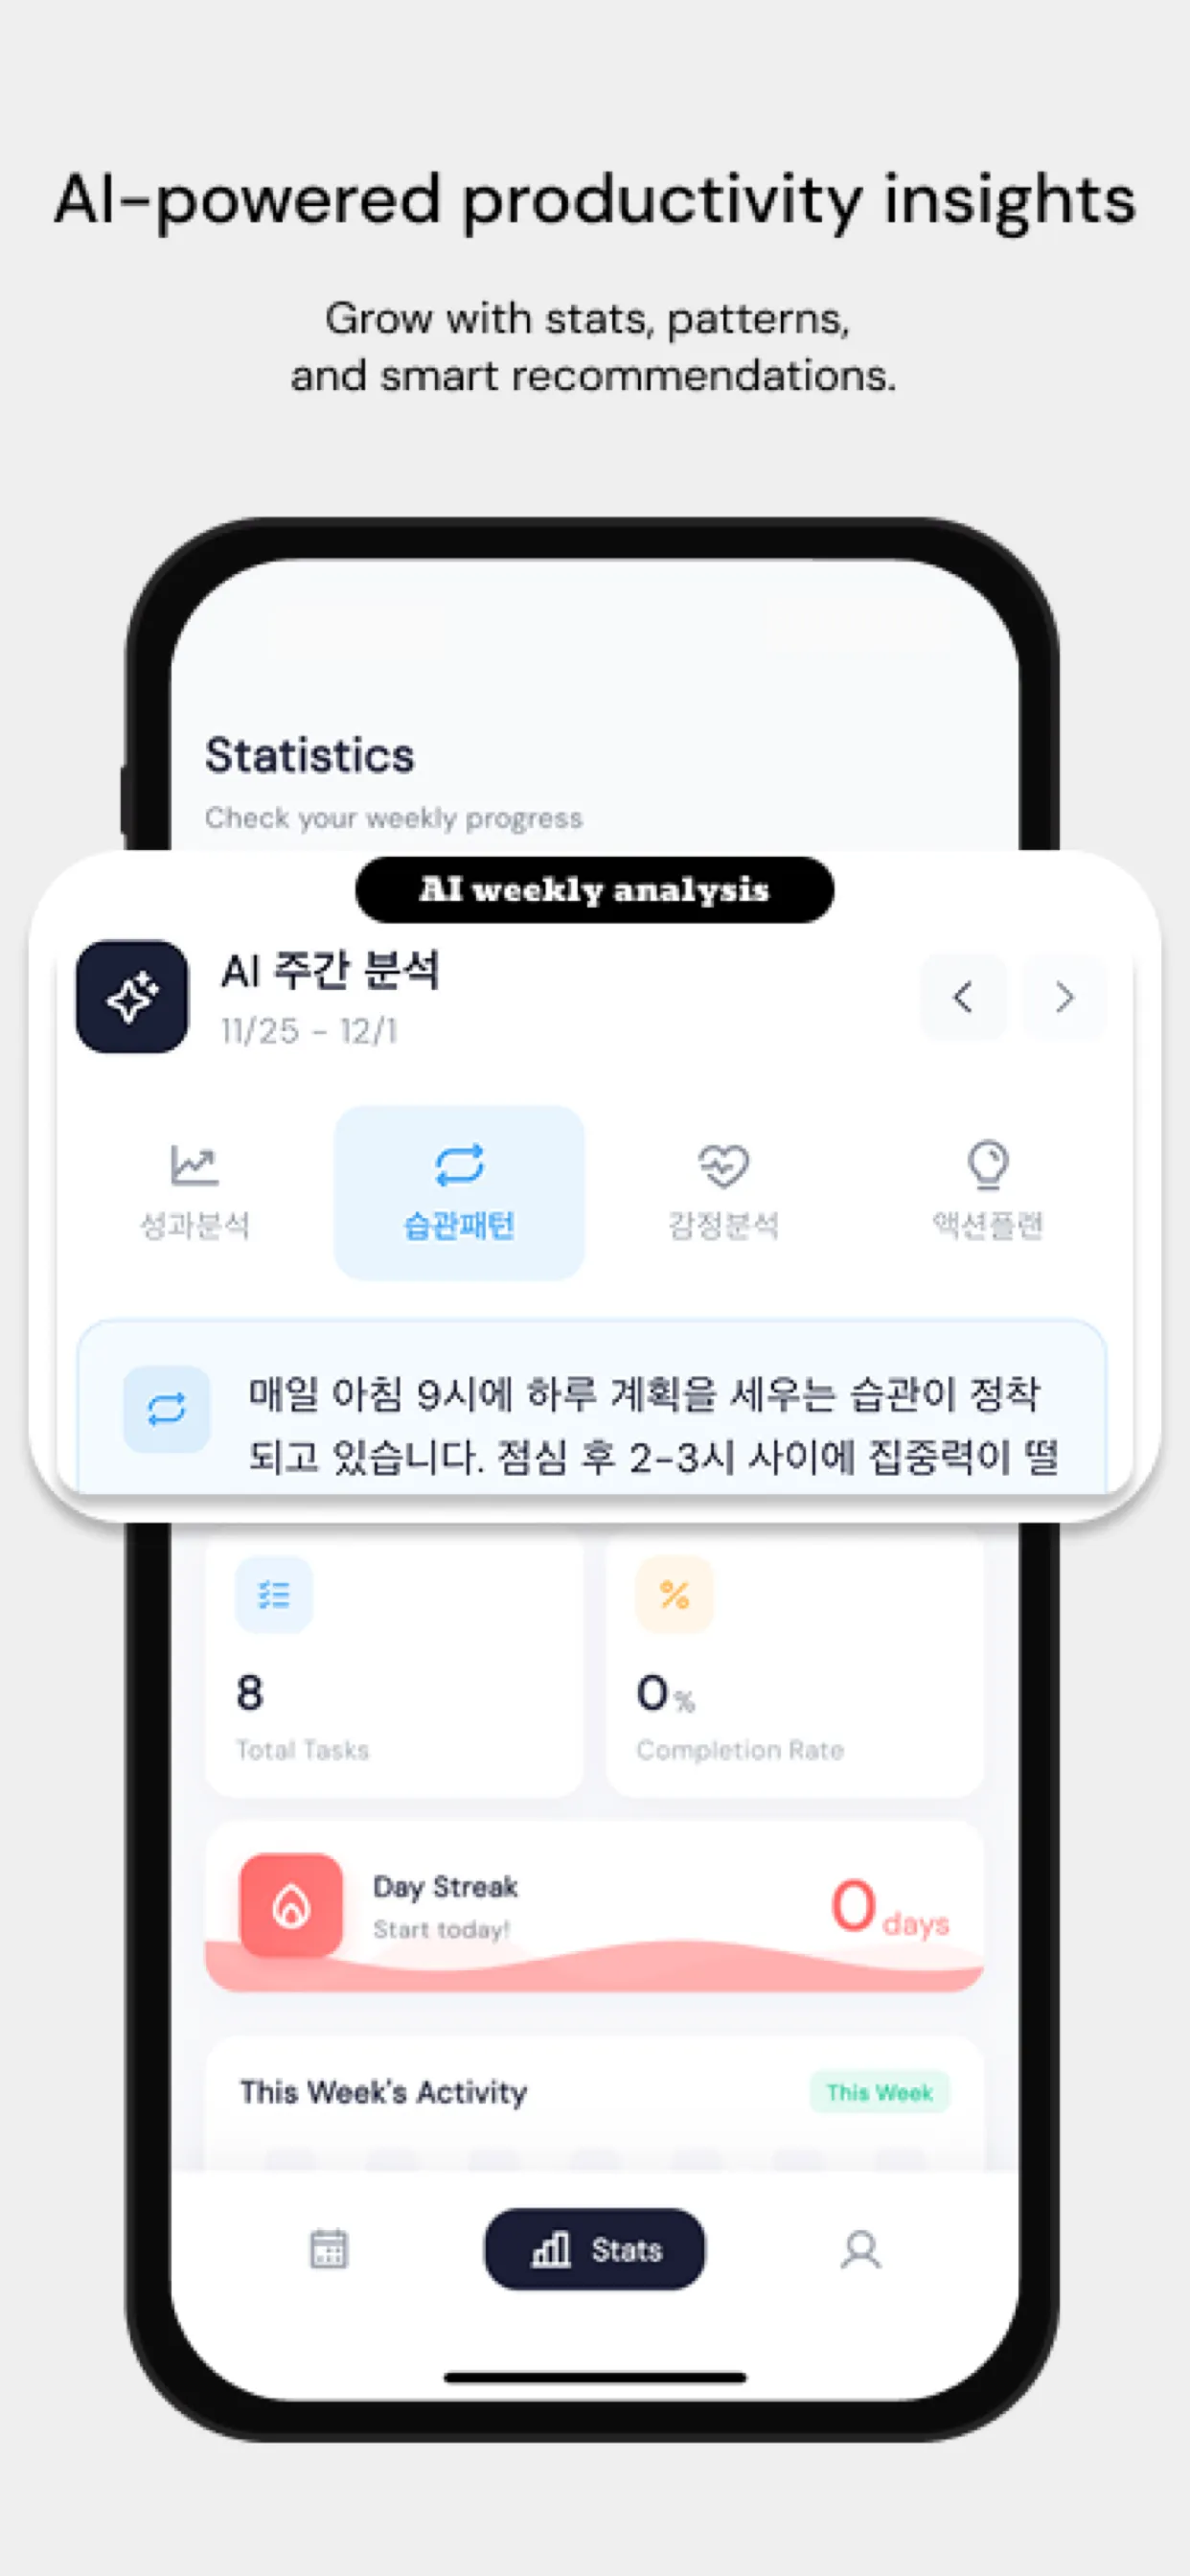
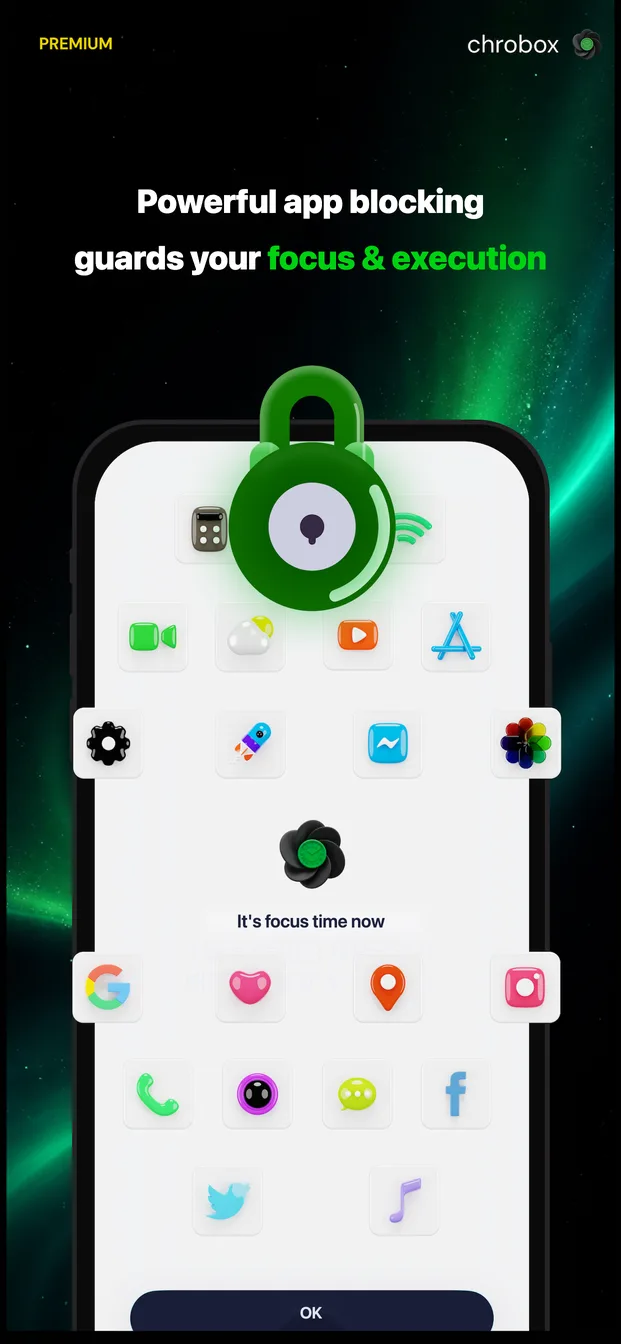
Chrobox, a timeboxing app, works this way: when you place a task on your daily timeline and attach a block profile to it, the apps you chose are blocked automatically for the length of that time box, using Apple's Screen Time API (the same FamilyControls and Screen Time framework Apple's own tools use) and a custom lock screen. The block starts when the box starts, ends when the box ends, and only applies for that day, so it does not linger into the evening if your plan changes. This suits people whose problem is not total daily usage but specific hours, like wanting Instagram blocked from 9 to 11 while working, but fully available in the evening.
Comparing the Three Methods
| Method | Purpose | What it blocks | Easy to bypass yourself | Needs a passcode someone else holds | Best for |
|---|---|---|---|---|---|
| Face ID app lock | Privacy | Nothing usage-wise; just requires authentication to open | Yes, if you know your own Face ID or passcode | No | Keeping specific apps private from other people |
| Screen Time App Limits | Usage cap | Selected apps or categories, after a daily time budget | Yes, via Ignore Limit for Today, unless someone else holds the Screen Time passcode | Yes, to make it stick | Reducing total daily time on an app |
| Scheduled blocking (Downtime or Chrobox) | Time-based focus | Selected apps, only during set hours | Depends on who set the schedule and holds the passcode | Yes, to make it stick | Blocking distractions during specific work or study hours |
Which Method Should You Use
If your concern is someone else opening an app on your phone, Face ID lock is the direct answer and takes under a minute to set up. If your concern is that you personally spend too much time on an app across the whole day, Screen Time App Limits with a passcode held by someone else is the more honest tool. If your concern is specifically about certain hours, like wanting to stay off social apps while working a particular block of time but not caring what happens outside it, scheduled blocking is the better fit, whether you build the schedule manually in Downtime or let it follow your plan automatically the way Chrobox does.
Many people end up using more than one at once: Face ID lock on a banking or messaging app for privacy, and a scheduled block on social and games apps during work hours. None of these tools are competing with each other; they answer different questions.